
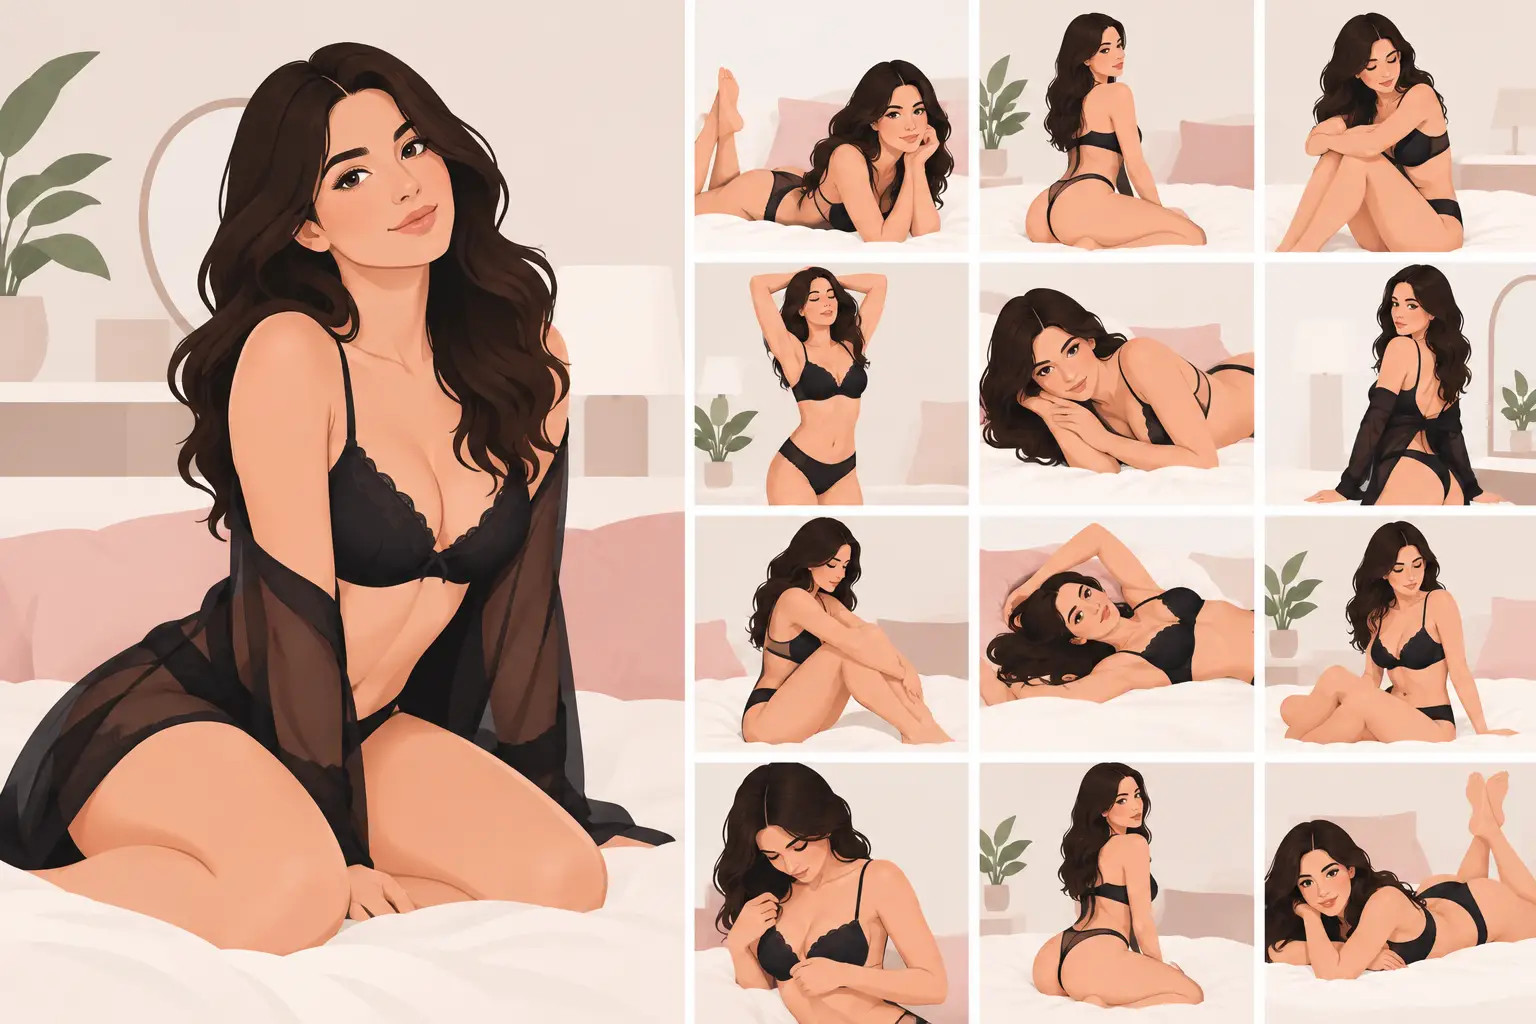
The most flattering boudoir photograph rarely begins with a complicated pose. It begins with a woman taking one relaxed breath, dropping her shoulders, and realizing she does not have to know what to do next. The best boudoir poses beginners can try are designed to create elegant lines while giving you something simple and comfortable to focus on.
A beautiful boudoir image is not about forcing your body into a position that does not feel like you. It is about thoughtful direction, refined lighting, and small adjustments that showcase your confidence. A slight turn of the chin, a softened hand, or a pointed toe can change the feeling of a portrait completely.
What Makes a Boudoir Pose Flattering?
Flattering is personal. Some women want images that feel soft and romantic; others want a powerful, editorial presence. The right pose depends on your comfort level, mobility, wardrobe, and the part of your personality you want your portraits to capture.
That said, most successful beginner poses have a few things in common. They create dimension by turning the body slightly away from the camera, lengthen the limbs without strain, and give the hands a purposeful place to rest. They also avoid asking you to hold a difficult position for too long. A polished result should never require you to look uncomfortable.
Professional direction matters here. At Franklin Photography Studios, posing is adjusted in real time for each client, rather than treated as a one-size-fits-all formula. Your body is not a problem to solve. It is the subject of a portrait created to honor your essence.
12 Best Boudoir Poses for Beginners
1. The Seated Side Turn
Sit at the edge of a bed, bench, or posing block with your hips turned about 45 degrees from the camera. Place one hand lightly beside you and let the other rest on your thigh, collarbone, or hair. Angle your face back toward the light.
This pose is an excellent starting point because it feels natural and gives the photographer room to shape the image through camera angle and lighting. Lengthen through the spine, then let your shoulders relax. The contrast creates poise without stiffness.
2. The Shoulder Look-Back
Stand with your back partially turned to the camera, shifting your weight into the leg farthest away. Look back over the shoulder closest to the camera, keeping your chin gently forward rather than pulled back.
The shoulder look-back creates a graceful curve through the back and waist while allowing you to begin with less direct eye contact. If looking into the lens feels vulnerable at first, gaze past it or lower your eyes. A quiet expression can be every bit as compelling as a bold one.
3. The Reclined Bed Pose
Lie on your side with your knees slightly bent and your upper body supported by an elbow or pillow. Keep your lower arm relaxed, and use your upper hand to trace the edge of a robe, rest near your face, or soften against your waist.
This is one of the most forgiving poses for beginners because the surface supports you. It also creates layered lines through the body, which tend to photograph beautifully. Avoid flattening your cheek into the pillow or mattress. A little space between your face and the surface preserves a refined profile.
4. The Kneeling Profile
Kneel on a bed or padded surface, sitting back toward your heels with your torso elongated. Turn into a profile or three-quarter view, then bring one hand to the thigh and the other to the neckline of your outfit.
The kneeling pose can feel especially elegant in lingerie, a silk robe, or an oversized button-down. It works best when the chest stays lifted without over-arching the lower back. Think of growing taller, not posing harder.
5. The Window Gaze
Stand near a window with one hip closest to the camera and your face angled toward the light. Place your hands gently on the window frame, the fabric of a curtain, or one another at your waist. Then look outside rather than directly at the lens.
A window gaze brings a sense of story to a portrait. It is also helpful for women who want to ease into their session before engaging the camera. The trade-off is that natural-looking window images still require careful lighting control, especially in bright Arizona sun. A photographer may position you just beyond the direct light for a softer, more luminous finish.
6. The Floor-Lengthening Pose
Sit on the floor with one leg extended and the other bent, creating a triangle shape. Lean slightly into one arm behind you and point the toes of the extended leg. Keep the front knee angled rather than pressed straight toward the camera.
This pose creates long, clean lines and can feel fashion-forward without being overly revealing. It is particularly striking with a bodysuit, draped sheet, or a structured jacket. If sitting on the floor is uncomfortable for your hips or knees, a supported variation can achieve a similar look.
7. The Soft Back Arch
Lie on your back with your knees bent and feet placed naturally on the bed. Allow one knee to fall slightly outward, then lengthen the torso by gently lifting through the chest. Rest your hands above your head or one hand at the side of your face.
The word “arch” can make this pose sound intimidating, but it should be subtle. You are creating a gentle curve, not testing your flexibility. A strong photographer will direct the placement of your shoulders, hips, and knees so the pose feels supported and looks effortless.
8. The Crossed-Leg Chair Pose
Sit in a chair at a slight angle, crossing one leg over the other at the ankle or knee based on what feels comfortable. Let one elbow rest lightly on the chair arm or your raised thigh, then bring your fingertips near your jawline.
A chair offers structure and makes this a wonderful choice for women who want a sophisticated, fully styled boudoir portrait. It can feel more like an editorial fashion image than a traditional bedroom pose. Keep your hand light. Pressing fingertips firmly into the face can distract from the softness of the image.
9. The Robe Reveal
Stand or sit with a robe loosely draped over the shoulders, holding its edges with relaxed hands. Shift your weight to one hip and look down toward your hands, or meet the camera with a composed expression.
This pose is about suggestion rather than exposure. It is ideal for a first outfit because it offers coverage while helping you settle into the experience. The robe also gives your hands a natural purpose, which removes one of the most common beginner concerns.
10. The Over-the-Shoulder Sheet Pose
Wrap a sheet around the body and turn slightly away from the camera, allowing one shoulder to show. Hold the sheet at the chest or hip, depending on the level of coverage you prefer, and keep your gaze lowered or turned to the side.
This pose feels timeless because it emphasizes shape, texture, and mood. It is also highly customizable. A more secure wrap can create a serene, modest image, while a looser drape can feel more sensual. Your comfort should set the boundary, not a pose reference.
11. The Standing S-Curve
Stand with your weight in one leg, bend the opposite knee softly, and let that foot point slightly outward. Turn your torso away from the camera while bringing your head back toward it. This creates the gentle S-shaped line that gives standing portraits movement.
The secret is not to exaggerate the hips. A small shift is usually more flattering than a dramatic one. This pose becomes especially polished when paired with a bodysuit, heels, or an open shirt, but it can be equally beautiful barefoot.
12. The Close-Up Connection
Not every boudoir pose needs to show the full body. For a close-up portrait, lie back or sit comfortably, bring one hand softly near the cheek or hairline, and focus on a single emotion: calm, strength, playfulness, or quiet confidence.
Close-ups are often the images clients treasure most because they capture expression. Relax your mouth, breathe through your lips, and think of someone or something that makes you feel powerful. The camera reads emotion more clearly than it reads perfection.
How to Feel More Natural During Your Session
You do not need to practice poses for hours before a boudoir session. In fact, memorizing a collection of social media poses can make you more self-conscious. Instead, practice a few useful habits: roll your shoulders down, elongate through the crown of your head, and let your hands stay soft.
Wardrobe also changes how a pose feels. A fitted bodysuit may make standing poses feel secure, while a robe or draped fabric may help you feel more at ease in reclining images. Bring pieces that make you feel like yourself at your most elevated, not outfits chosen solely because they looked good on someone else.
Most importantly, allow the session to unfold. The first few frames are simply a chance to settle in. With professional hair and makeup, considered styling, and clear direction, you can stop worrying about whether you are doing it right and begin enjoying the experience of being seen.
The most memorable boudoir portrait is not the one where you copied a pose perfectly. It is the one where the pose gave you enough support to let your own beauty, strength, and individuality come forward.